taxomate allows you to calculate the Cost of Goods Sold (COGS) for each settlement period using an average cost method. We recommend reviewing this article to understand how taxomate's COGS system works. Once you enable COGS (see below) a Cost of Goods sold tab will appear within each imported settlement.
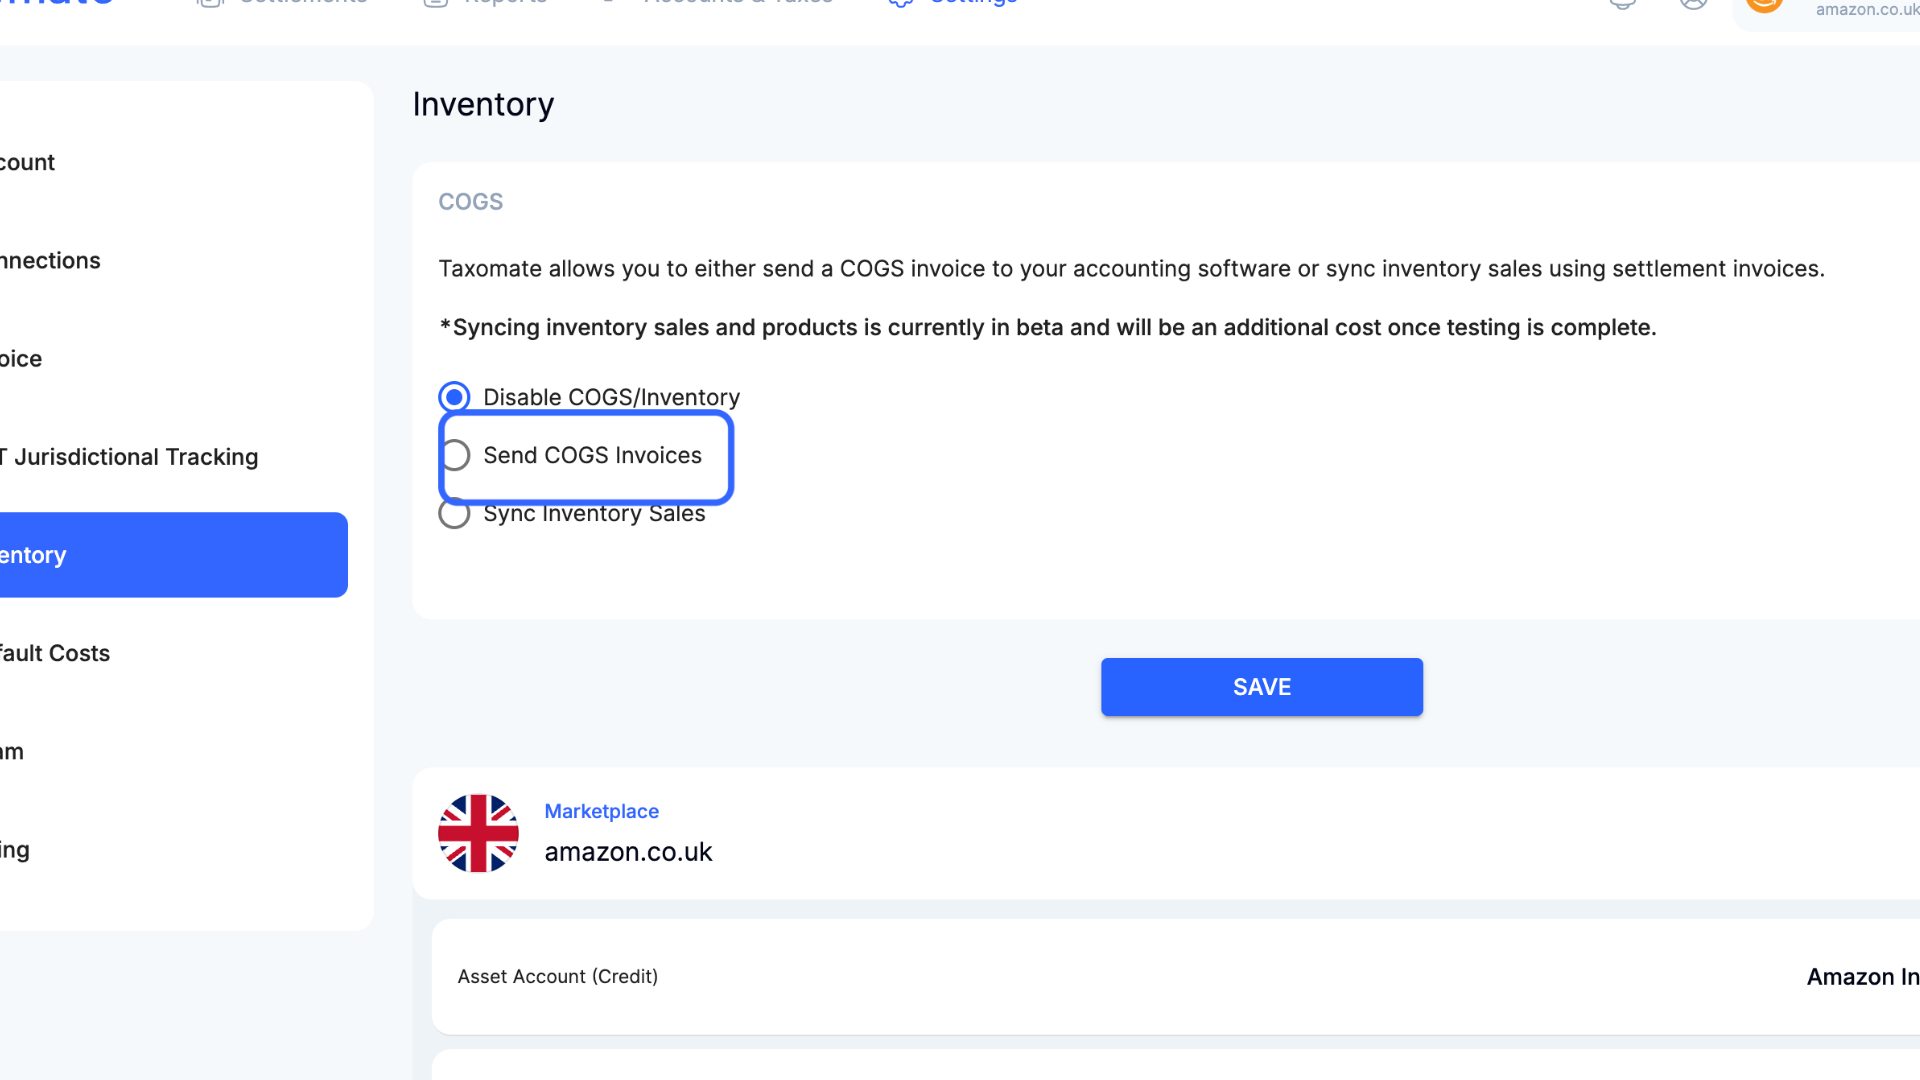
Head over to Settings > Account, select the Inventory tab and Enable COGS. You also have the option of enabling cost per country and grouping the invoice by SKU.
Similar to Settlements, we map COGS to accounts in QuickBooks/Xero/Wave. The total COGS amount (or per SKU) for each month is calculated and sent to QuickBooks, Xero, or Wave.
If you scroll down on the Inventory settings, you will want to confirm the Asset and Expense accounts are correct.
👉 The below settings will reduce the amount in the Amazon Inventory account and increase the Amazon Cost of Goods Sold account.
ℹ️ You will want to assign all purchase orders for inventory (and other inventory costs) to the Amazon Inventory account.
You have the option to either enter your product costs in-line or in bulk.
OPTION A: In-Line Editing
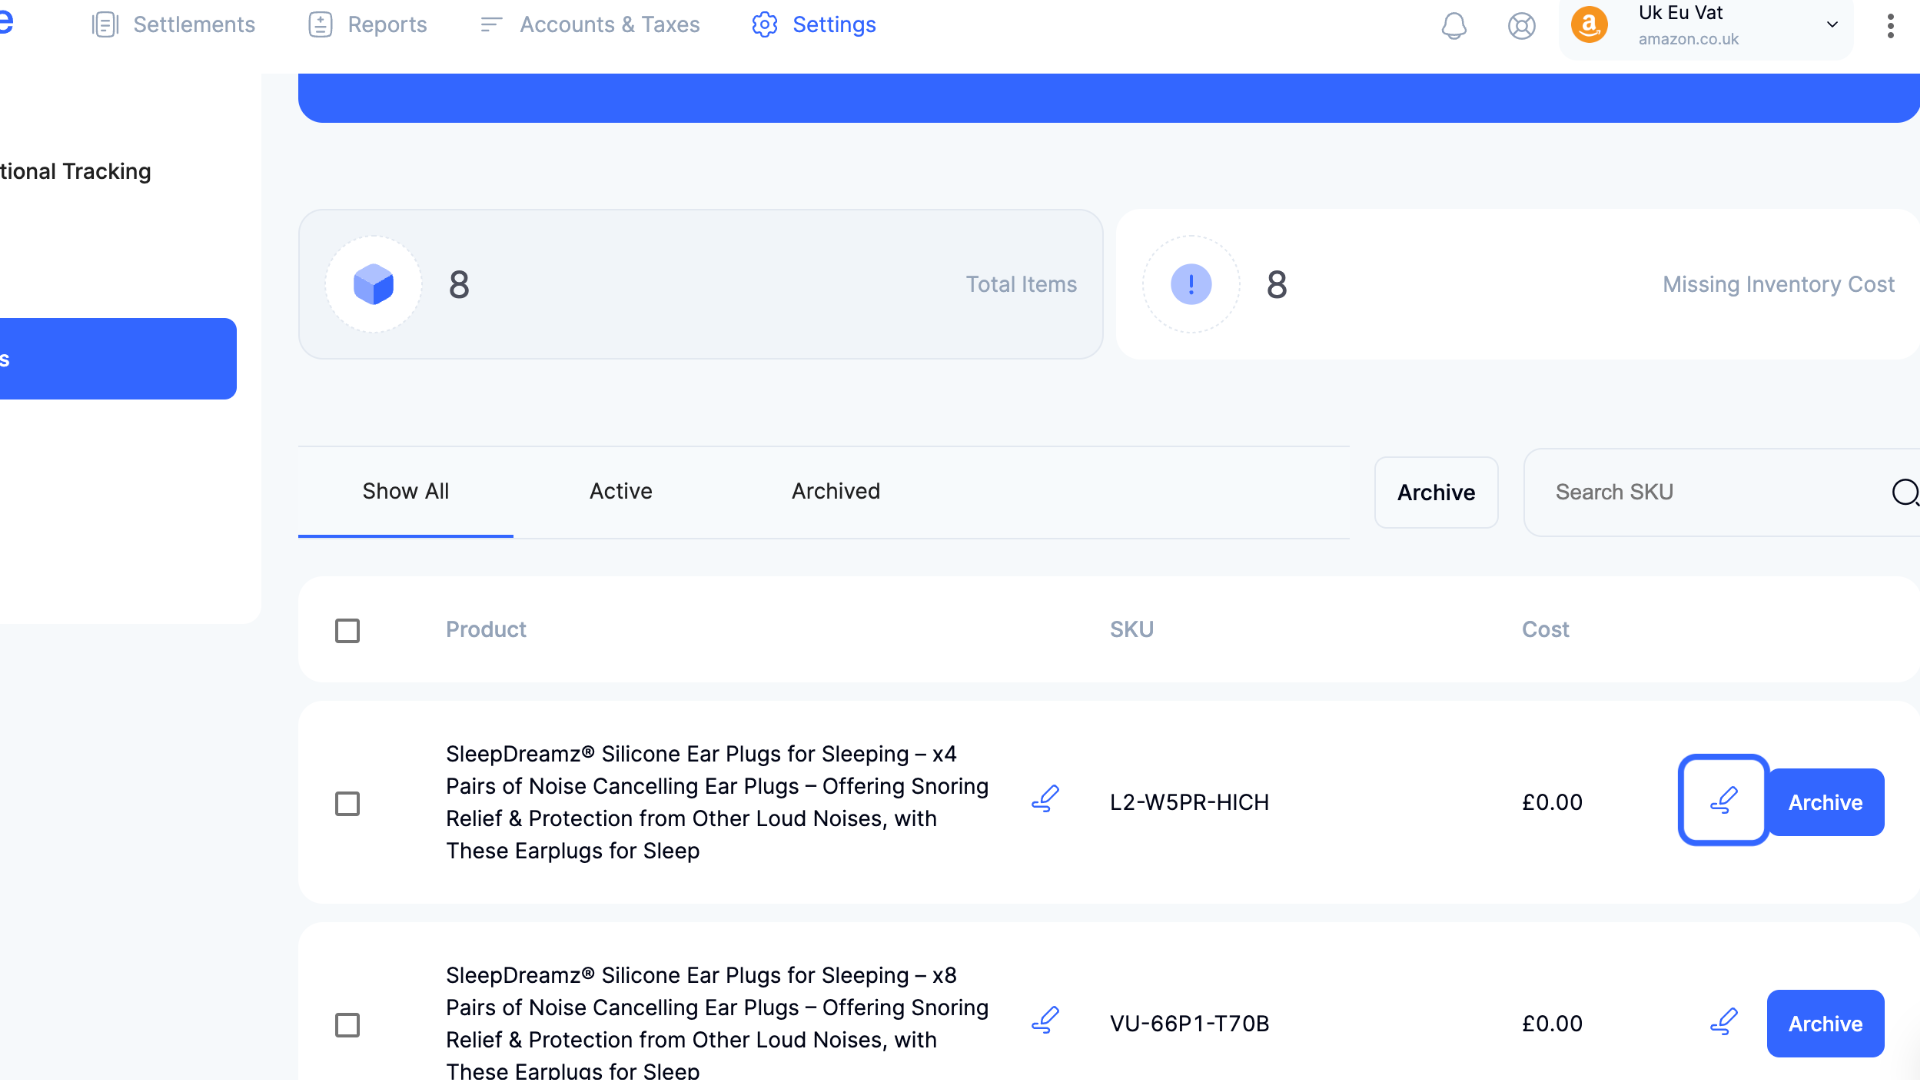
First, select Default Costs in Settings > Default Costs.
If your product name is missing, you can enter the missing name on the left for each respective SKU.
For each SKU you would like to calculate COGS, enter the average cost on the right side.
OPTION B: Bulk Editing
To bulk edit on the Default Costs page first select Download Sheet
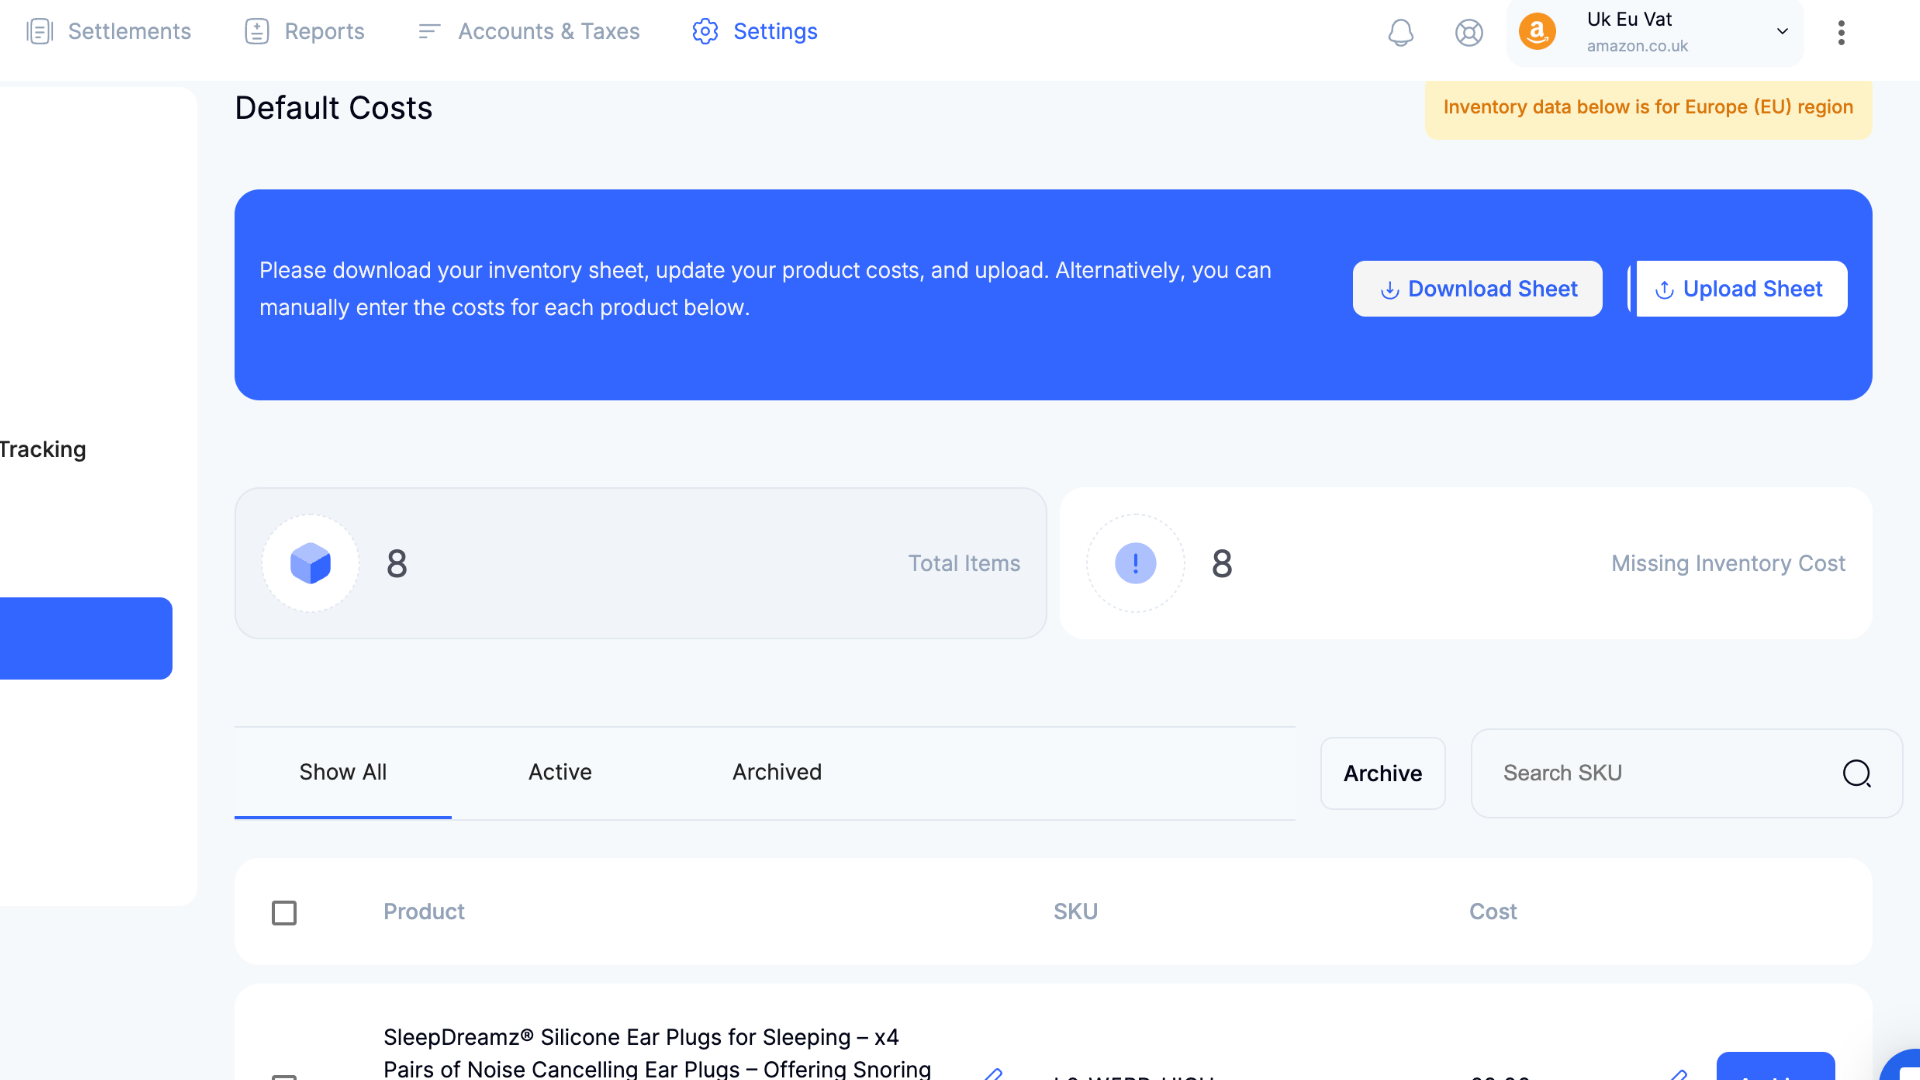
Enter the respective name (optional) and cost (required) for each SKU. Currency is not required. Save the CSV file and upload the file back into taxomate.
⚠️ ⚠️ Any changes made to default costs will only apply to settlements imported after these changes are made. To apply the default costs to a settlement already imported, select the Apply Default Costs button (see Step 4 below)
Each settlement will now have a Cost of Goods Sold tab.
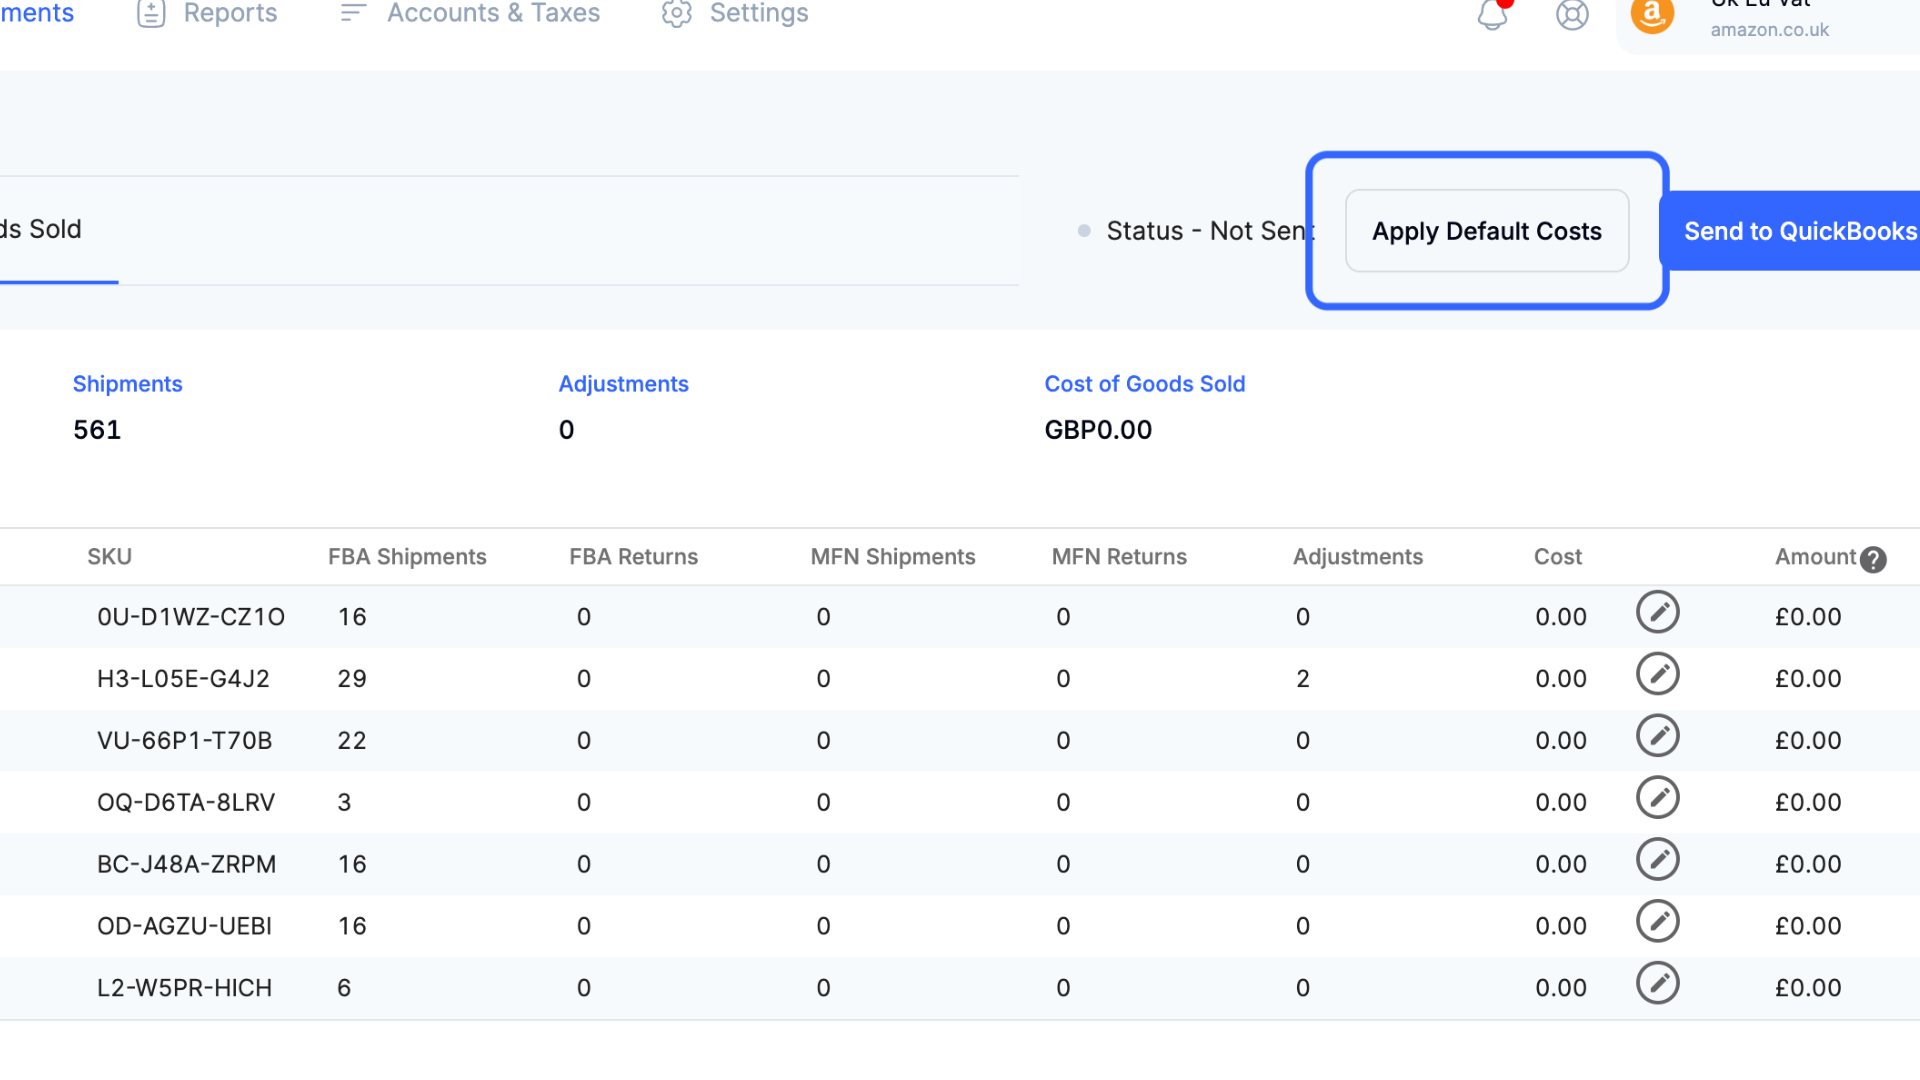
Before you send off your COGS invoices to QuickBooks, Xero, or Wave, you can update the individual cost of a product for that specific settlement (this will override Default Costs). Under the Cost column, select the edit button for the SKU that you would like to edit. Change the cost to the custom price for that month.
You can also select the Apply Default Costs button to apply the average costs you entered in Settings > Default Costs.
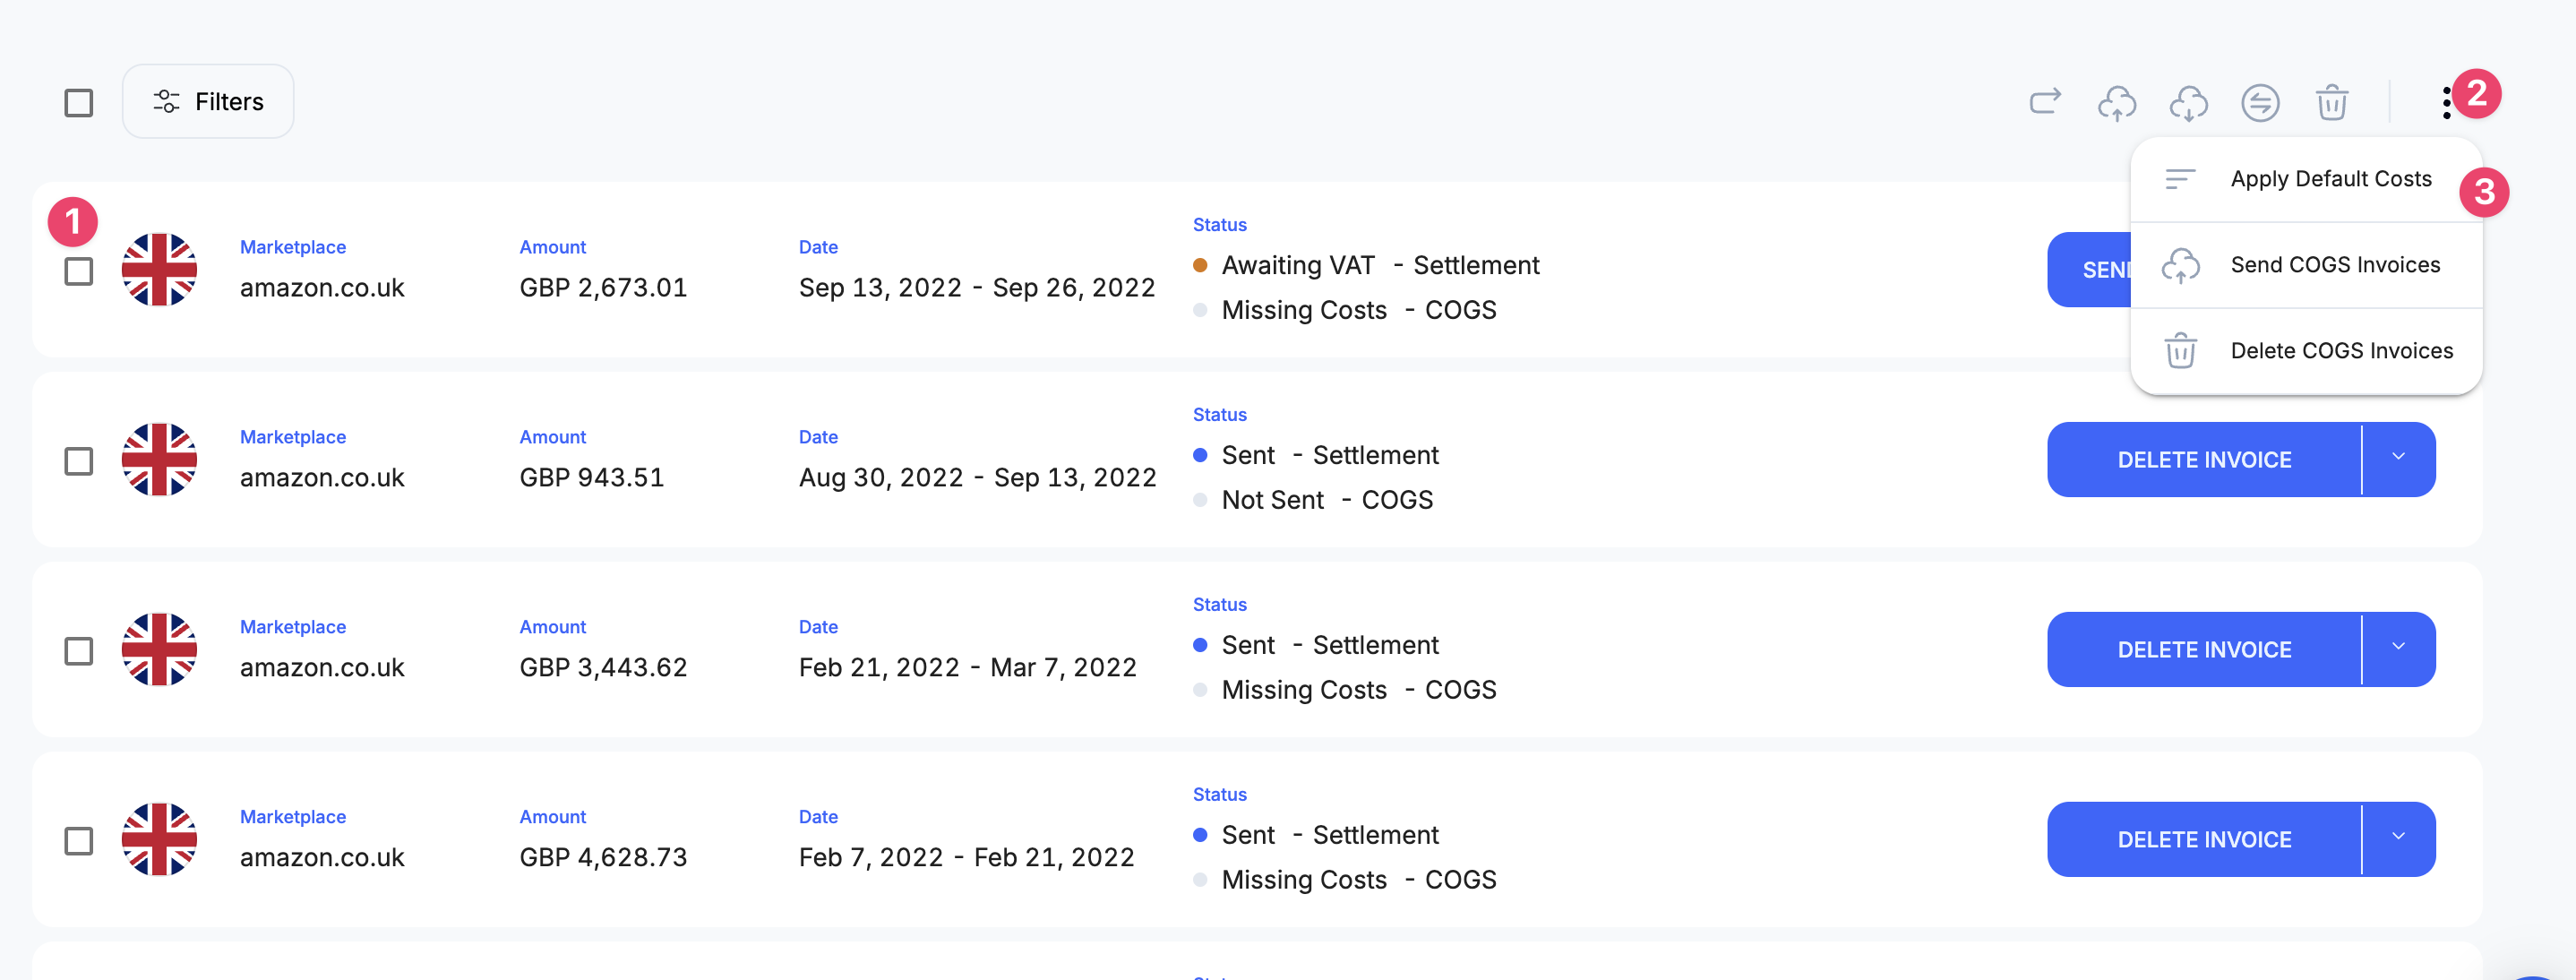
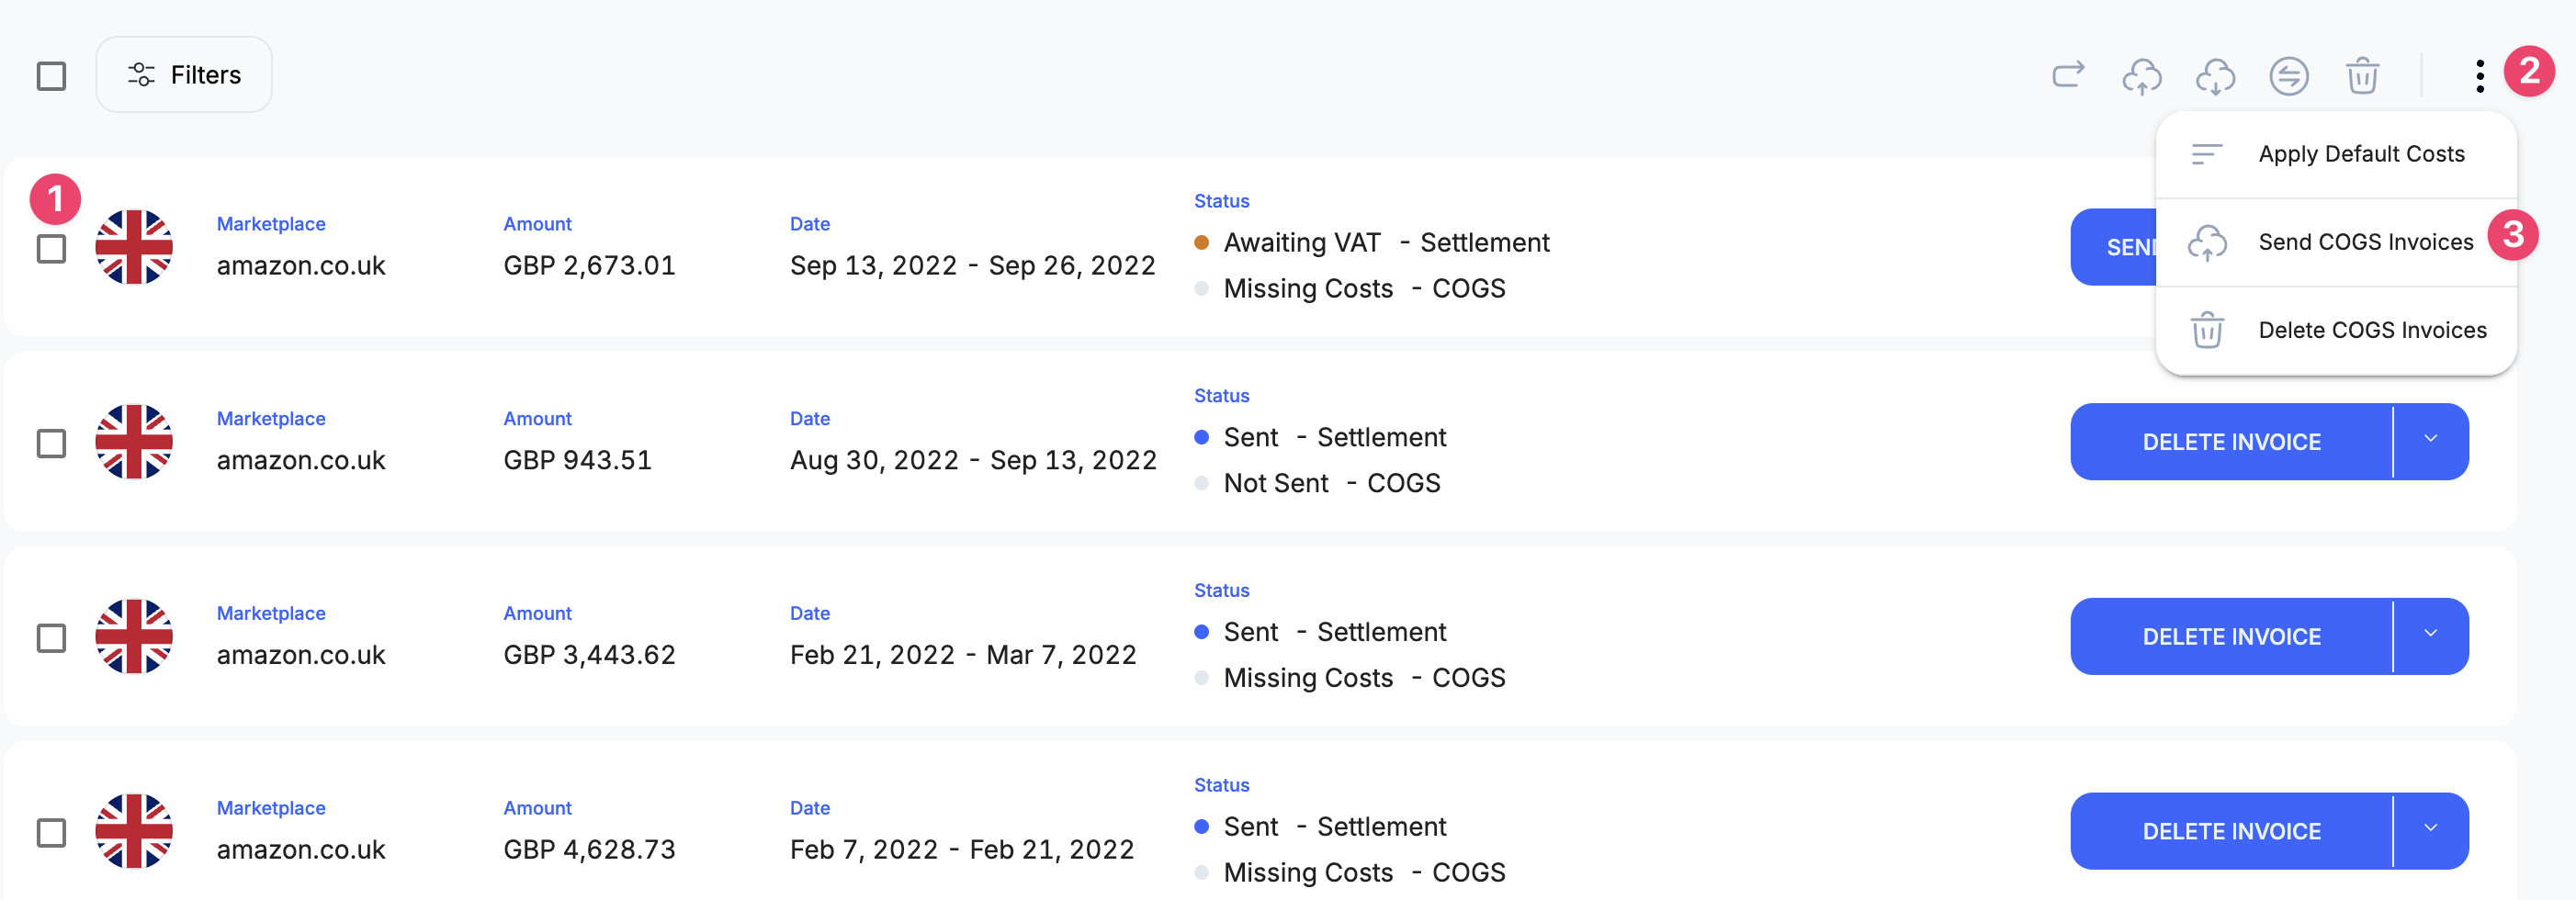
Default costs can also be applied in bulk by selecting the settlements you would like to update, the three dots on the top toolbar, and the Apply Default Costs button.
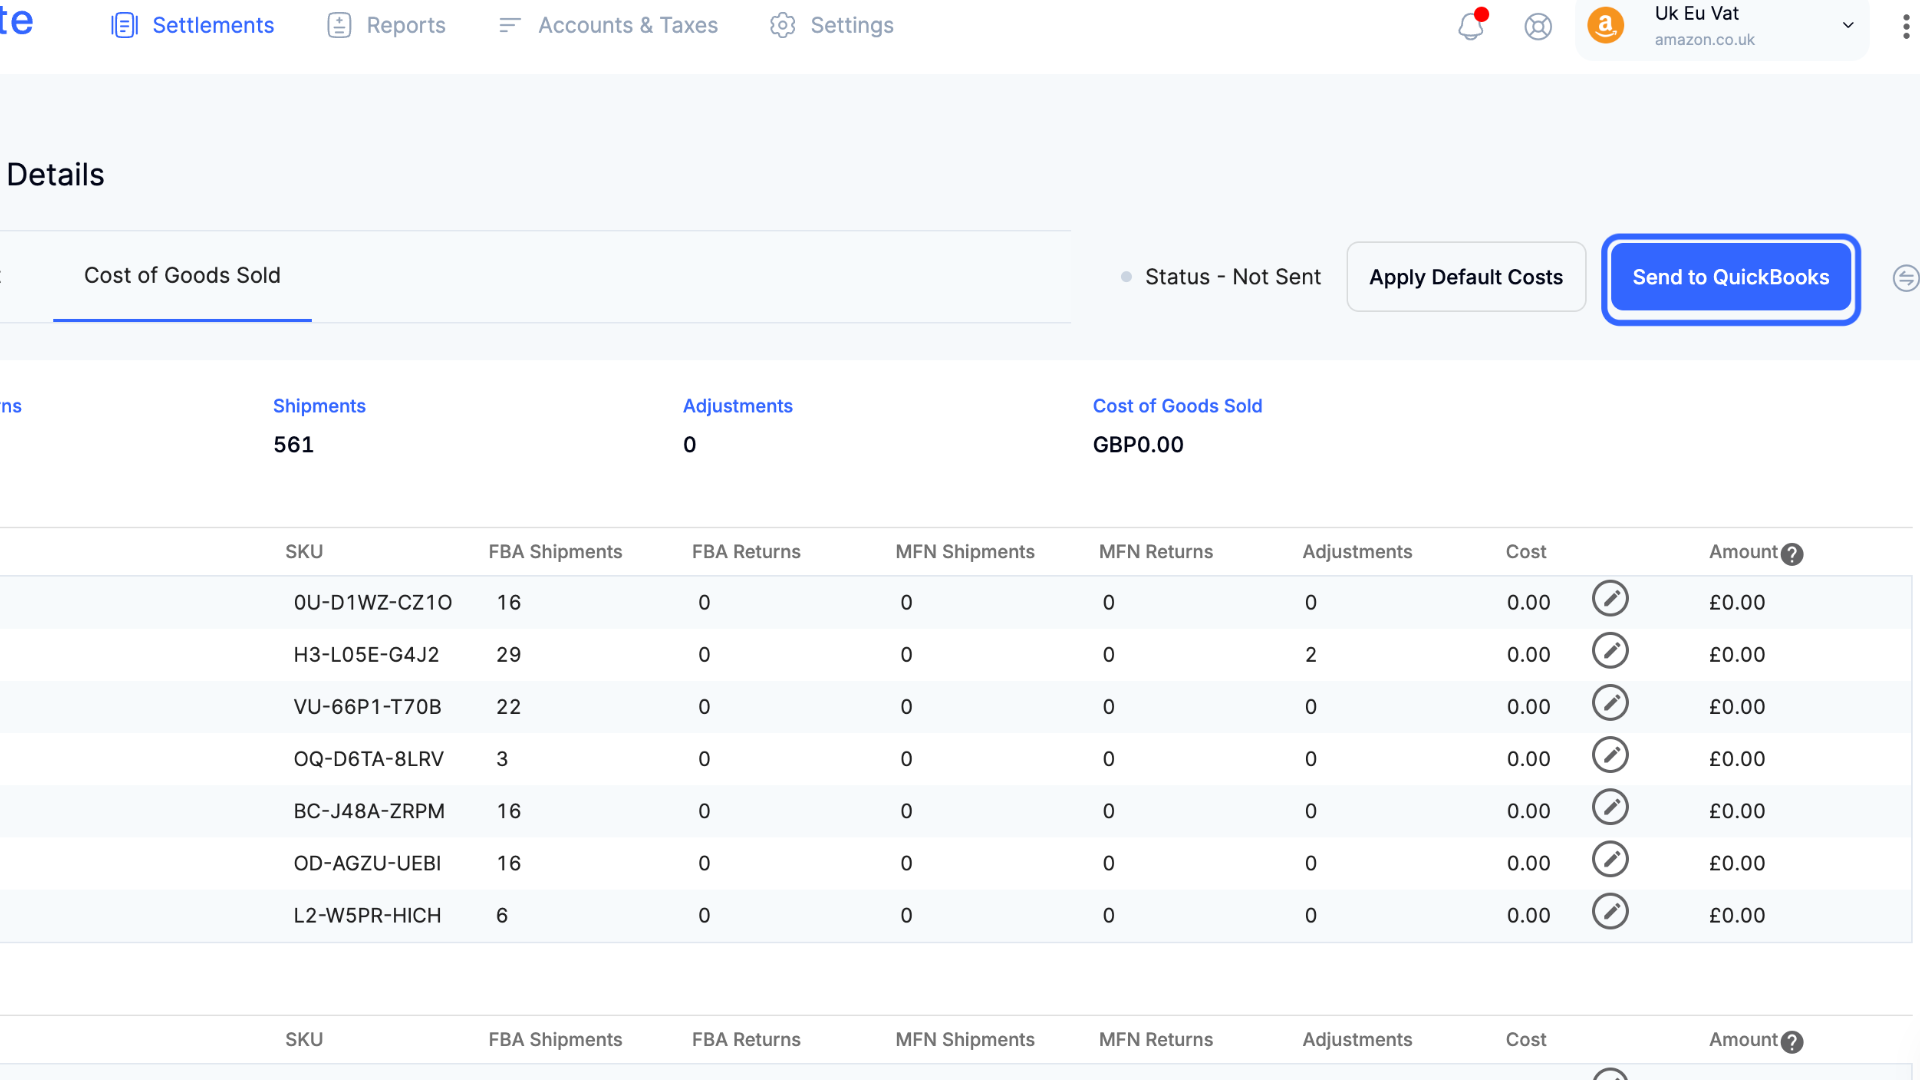
Once you are ready to send the invoice, on the top right corner of each COGS invoice select Send to QuickBooks/Xero/Wave.
You can also send the COGS Invoices in bulk by selecting the settlements you would like to send and then "Send COGS Invoices" by selecting the three dots in the top right corner.
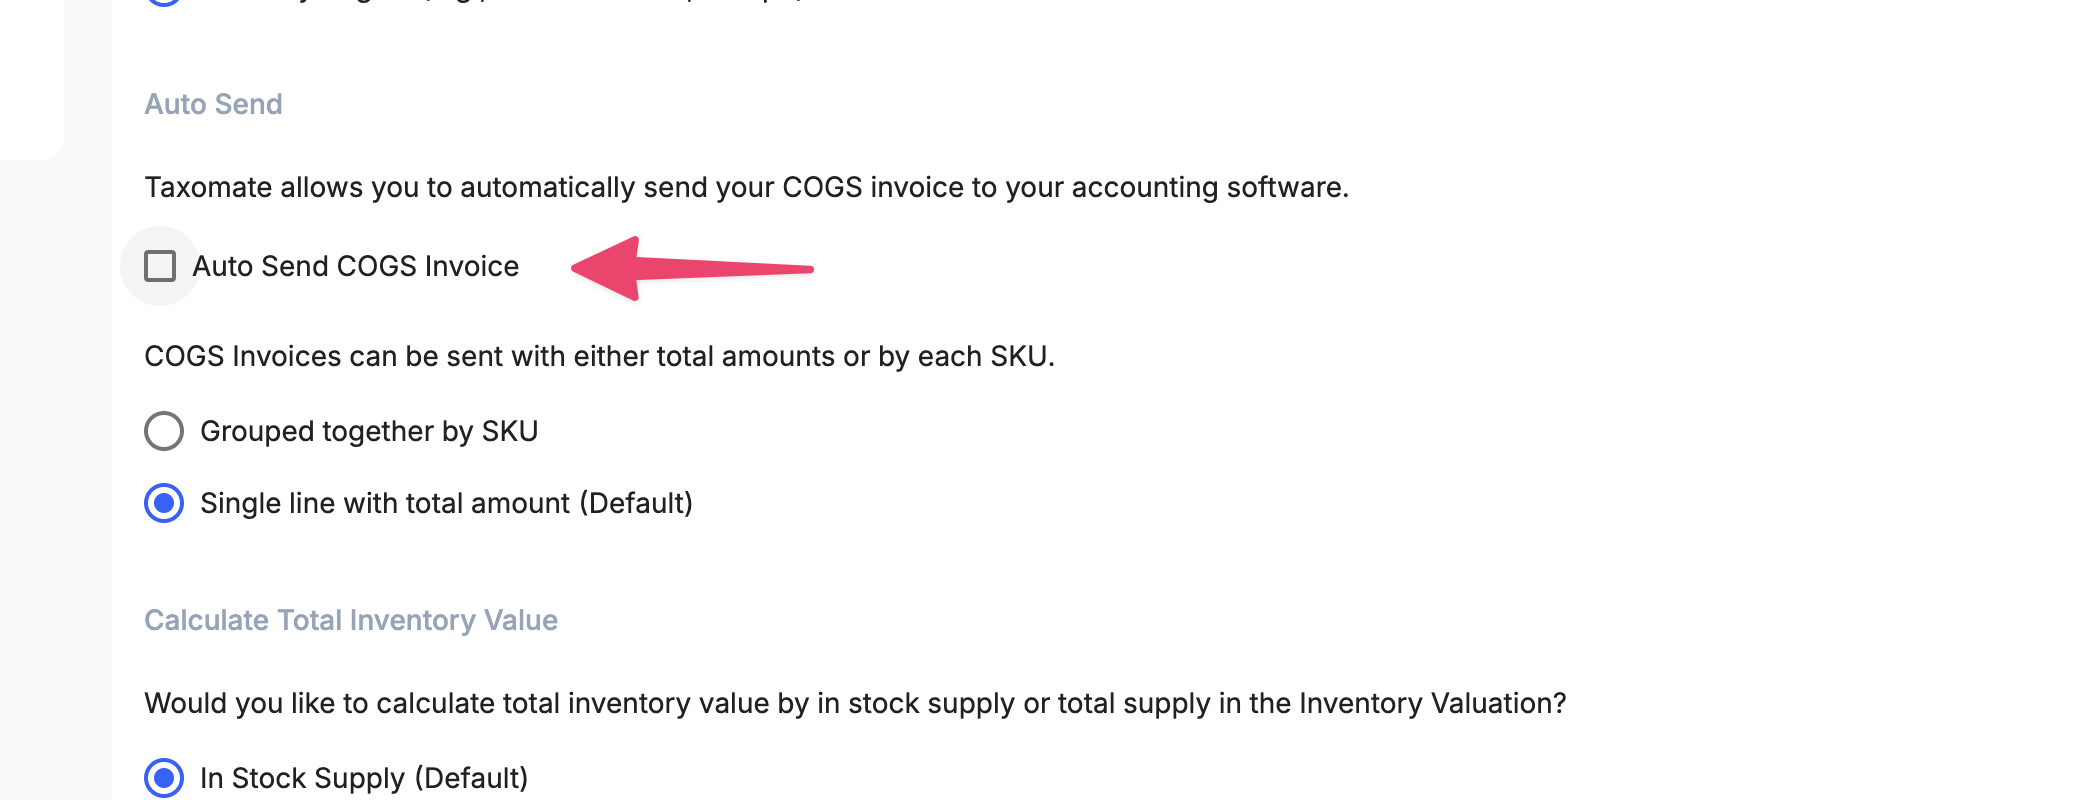
taxomate can automatically send COGS invoices to your accounting software when new Amazon settlements are imported into taxomate.
Go to Settings > Inventory and select Auto Send COGS Invoice.